Clover Shaped Cloth
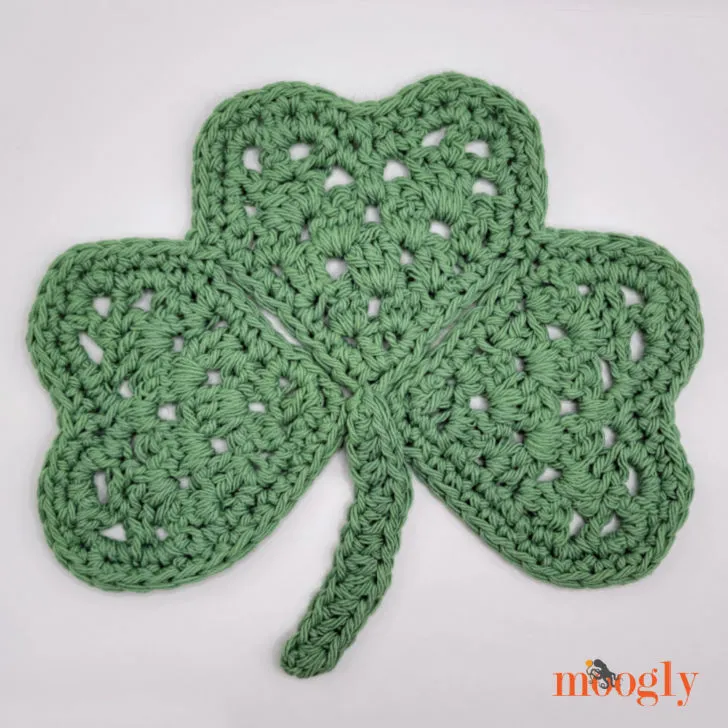
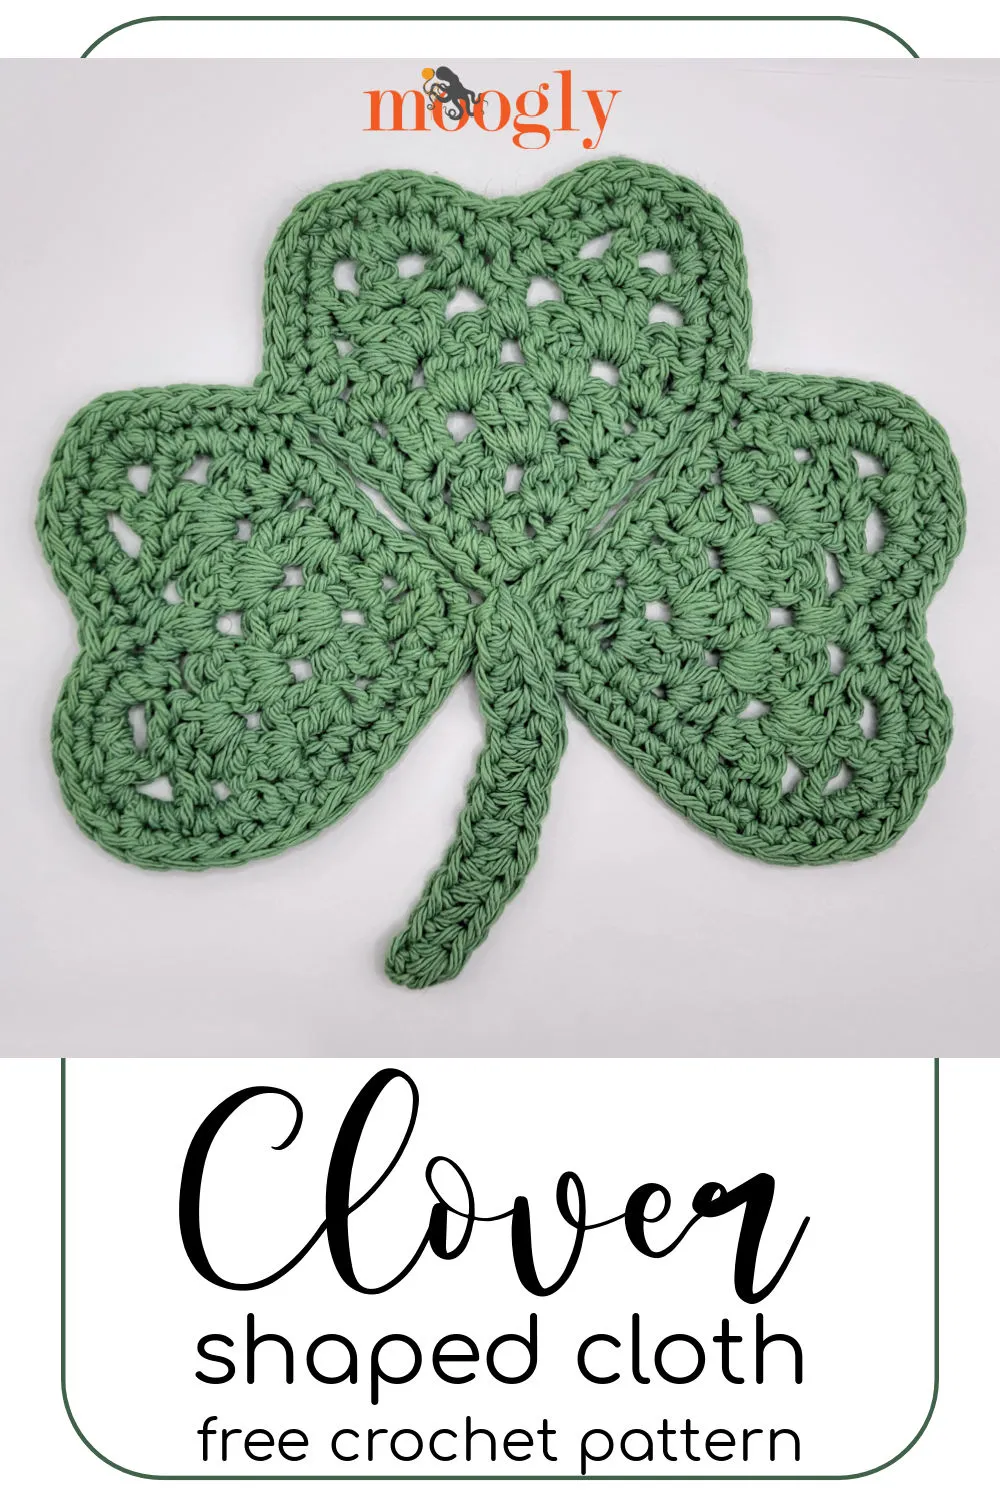
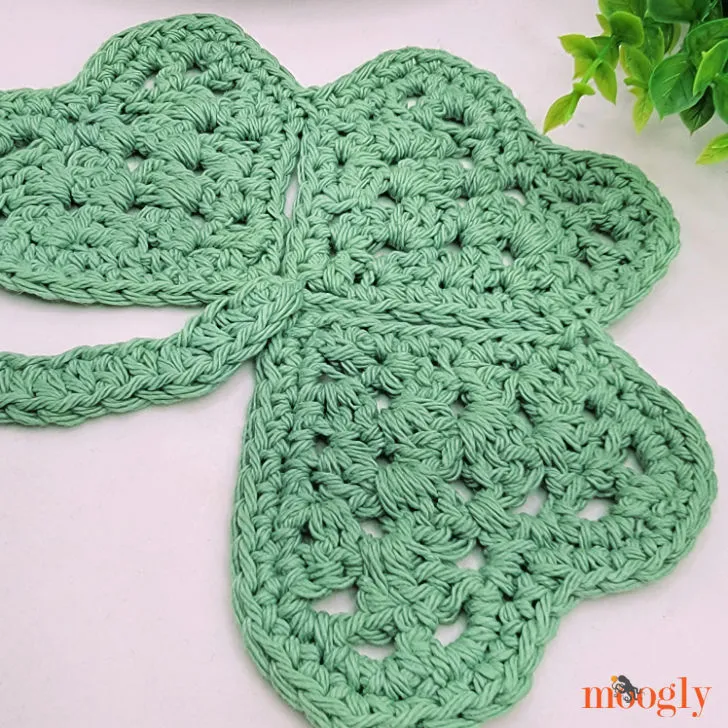
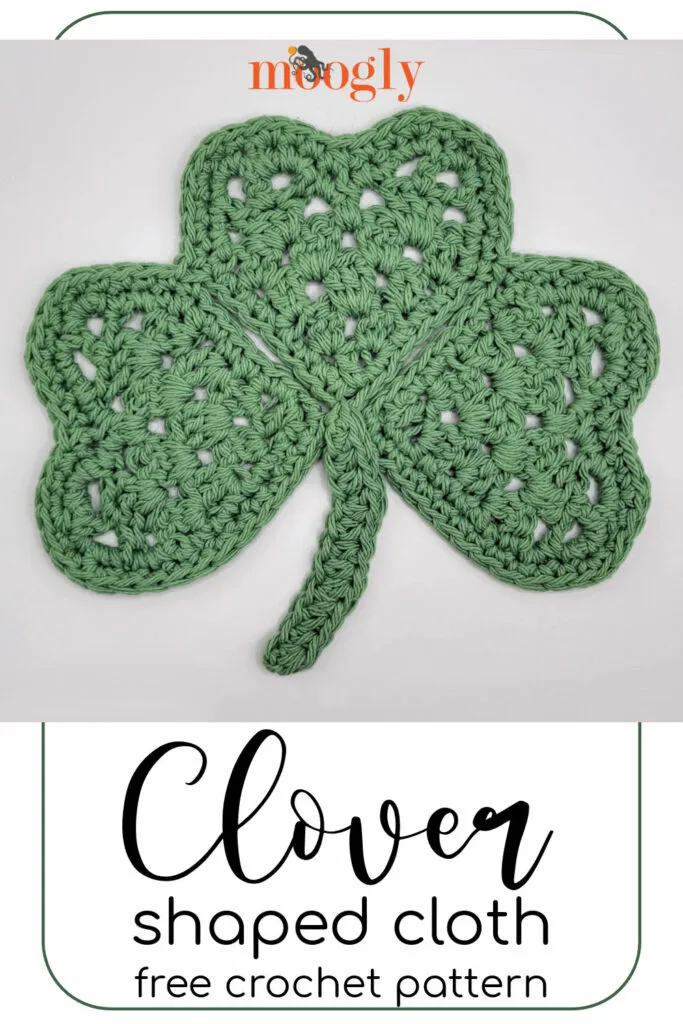
The Clover Shaped Cloth is fun, festive, and perfect for March! Use Lily Sugar’n Cream to make a wash or dishcloth, or even use it as an applique! Get the pattern below, right here on Moogly!
Prefer the free blog version? Keep scrolling!
What I Love About the Clover Shaped Cloth
This pattern features one of the most classic crochet stitch patterns – the granny stitch! And I love that it features the versatility of crochet – you can make any shape, anything you can dream of. Finally, March isn’t just National Crochet Month – and St. Patrick’s Day has always been one of my favorite holidays. Crochet has a special place in Irish history, and being a bit Irish myself… well it all comes full circle!
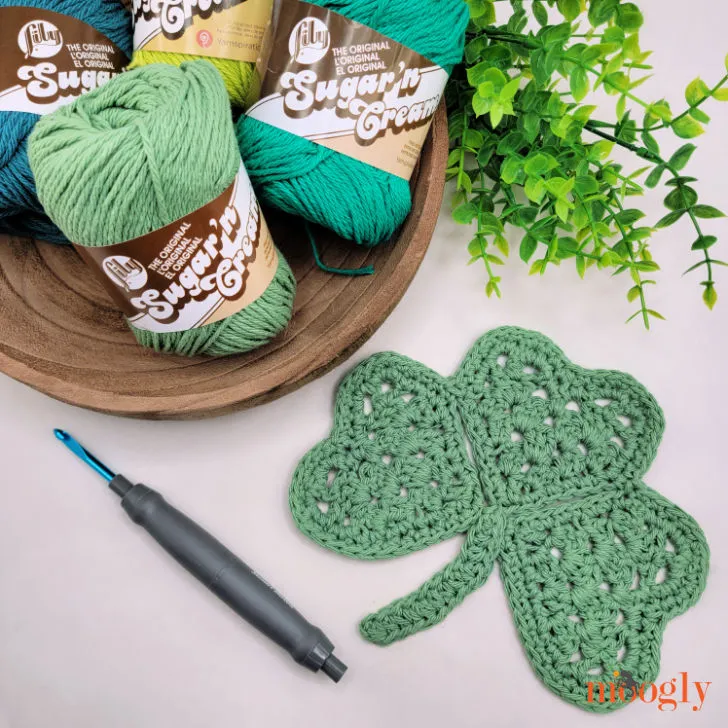
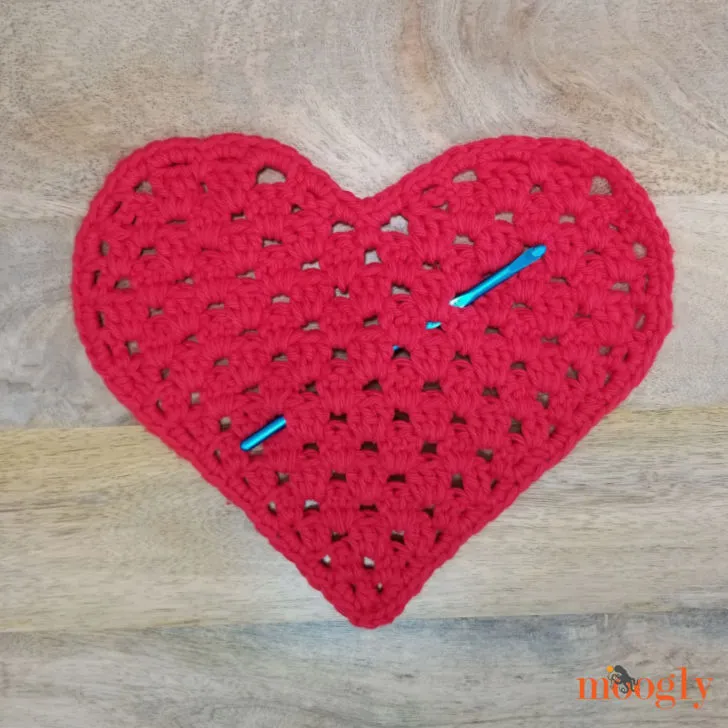
You might have noticed that this pattern pairs nicely with theHeart Shaped Cloth! Like that pattern, the Clover Shaped Cloth can be made in any yarn. Lily Sugar’n Cream, shown here, is perfect for the kitchen and bath. And it makes a great applique for a tote or tee! Switch things up and make it withAunt Lydia’sfor a quick pin to make sure you’re wearing the green, or make it inBernat Blanket Extra Thickfor a festive and bold statement piece or wall hanging!
Clover Shaped Cloth
US – H, 5.0mm crochet hook -Susan Bates Twist + Lock
40 ydsLily Sugar’n Cream(100% cotton, “4”/worsted weight)Colorway Shown: Meadow
Stitch Markers
Gauge:13 sts x 8 rows = 4\”/10cm in granny stitch pattern
Size:8\” max width, 7\” max height
Helpful Tutorials and Links:
Clover Shaped Cloth Tutorial
Crochet Abbreviations
Join with dc (standing dc)
Join with sc (standing sc)
Clover Shaped Cloth INSTRUCTIONS
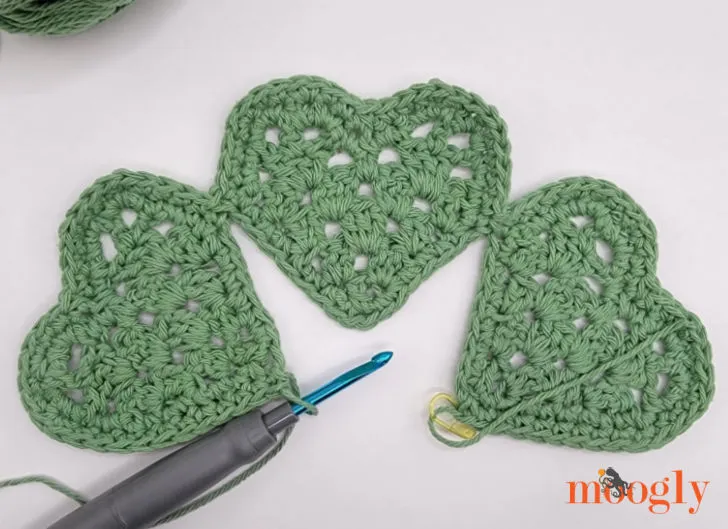
MAKE 3 \”HEARTS\” AS FOLLOWS:
Row 1:Ch 3 (counts as first dc throughout pattern), 2 dc in 3rd ch from hook; turn.(3 dc)
Row 2:Ch 3, 2 dc in first st, skip next st, 3 dc in last st; turn.(6 dc)
Row 3:Ch 3, 2 dc in first st, skip 2 sts, 3 dc between previous and next st, skip 2 sts, 3 dc in last st; turn.(9 dc)
Row 4:Ch 3, 2 dc in first st, skip 2 sts, 3 dc between previous and next st, skip 3 sts, 3 dc between previous and next st, skip 2 sts, 3 dc in last st; turn.(12 dc)
Row 5: Ch 3, skip the next 2 sts, 3 dc between previous and next st, skip 3 sts, dc between previous and next st; turn – remaining sts left unworked.(5 dc)
Row6:Ch 3, skip 1 st, dc in next st, skip next st, dc in last st; break yarn and turn.(3 dc)
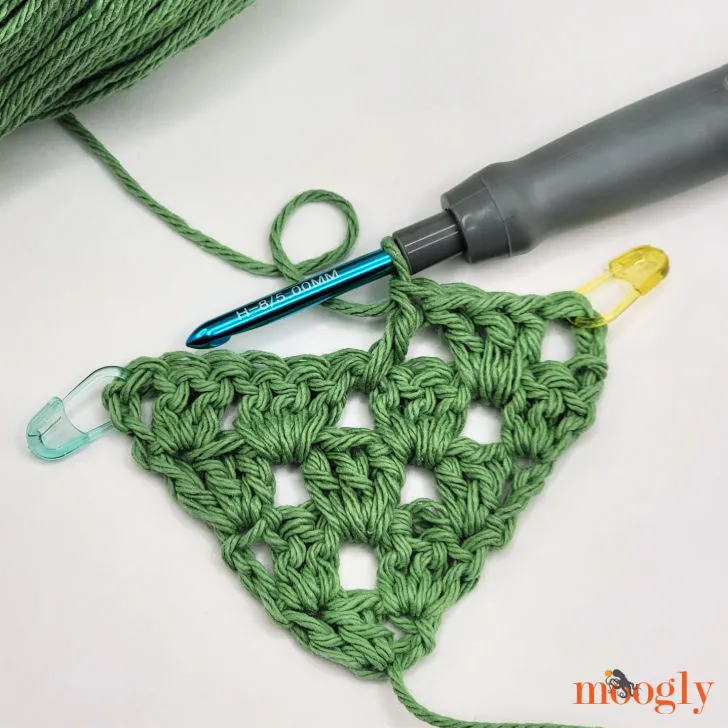
Row 7:Join with dc in between same 2 sts as the last st of Row 5 (in center of Row 4), skip the next 3 sts, 3 dc between previous and next st, skip the next 2 sts, dc in last st; turn.(5 dc)
Row 8:Ch 3, skip 1 st, dc in next st, skip next st, dc in last st; turn (do NOT break yarn).(3 dc)
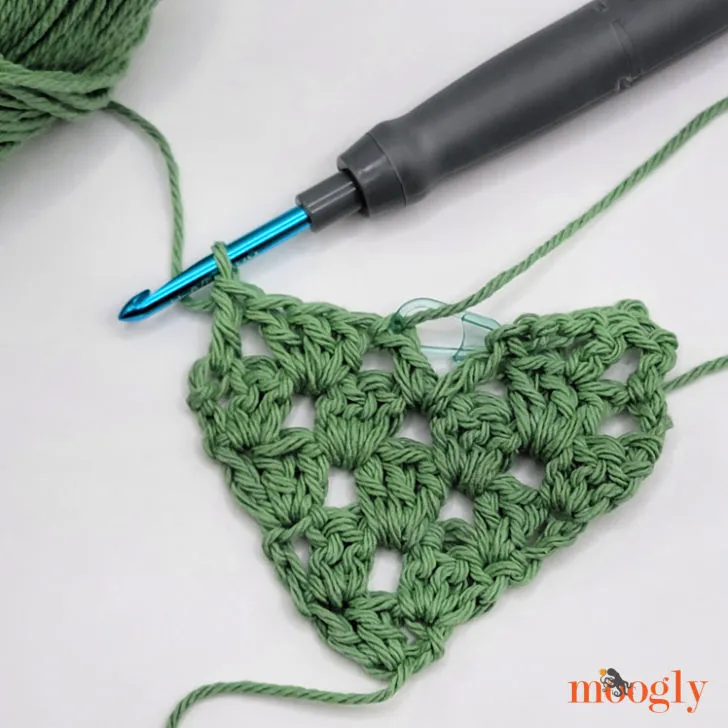
Border:Ch 1, skip the first st, sc between the previous and next st, skip the next st, 3 sc in ch-3 sp, 2 sc in the side of each row to the slip knot, ch 2, 2 sc in the side of each of the next 5 rows, 3 sc in side of next row, skip the next st, 3 sc in ch-3 sp, sc in side of next row, sc2tog in side of same row and next row (on other top half), sc in side of same row, 2 sc in side of next row; join and break yarn.
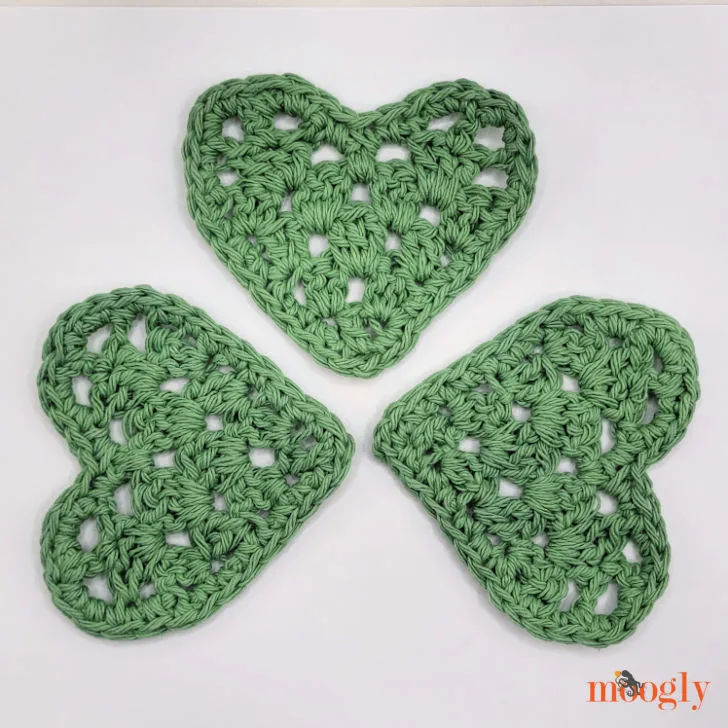
ASSEMBLE THE CLOVER:
Prep:Counting from the ch-2 at the bottom, pm in st # 7 of two of the hearts.
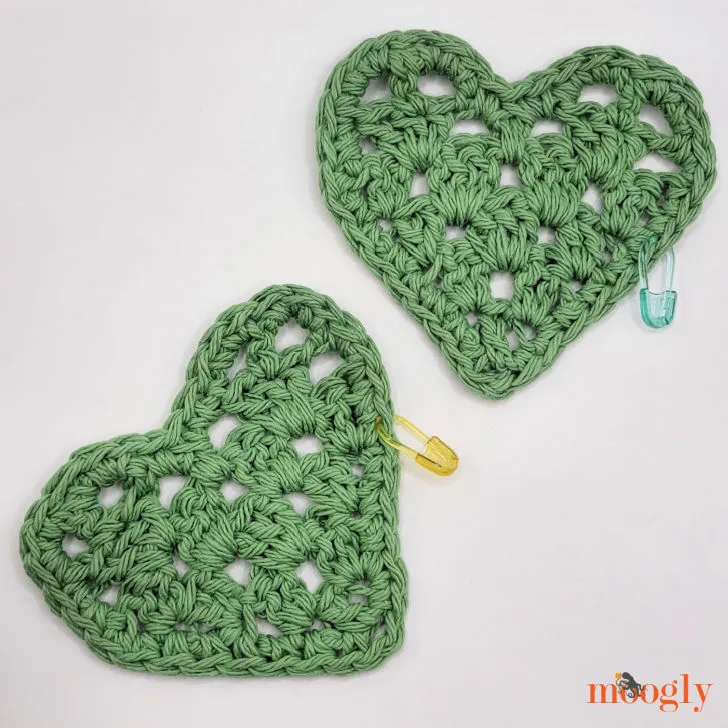
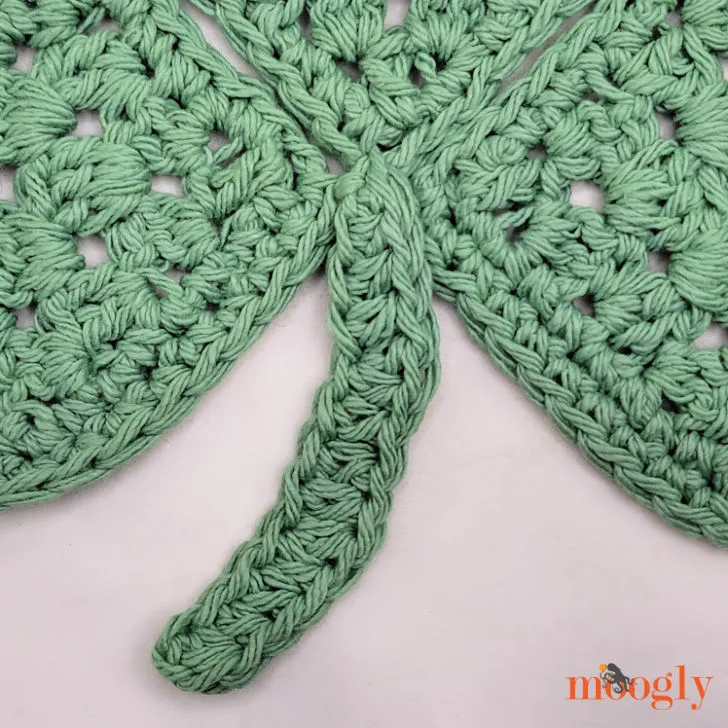
Join \”Hearts\” and Add Stem:Join with sc in the ch-2 sp at the base of the first \”heart,\” sc in next 11 sts, 2 sc in next st, sc in next 2 sts, 2 sc in next st, sc in next 2 sts, sc2tog, sc in next 2 sts, 2 sc in next st, sc in next 2 sts, 2 sc in next st, sc in next 3 sts, [sc2tog in next st and marked st of next \”heart,\” sc in next 4 sts, 2 sc in next st, sc in next 2 sts, 2 sc in next st, sc in next 2 sts, sc2tog, sc in next 2 sts, 2 sc in next st, sc in next 2 sts, 2 sc in next st, sc in next 3 sts] twice, sc in next 7 sts, sc in ch-2 sp, insert hook in ch-2 sp of center \”heart,\” sl st join to first sc of rnd, ch 13, skip the ch closest to the hook, [hdc in the next 3 sts, 2 hdc in next ch] twice, hdc in last 4 chs, break yarn and sew in end at ch-2 of center \”heart.\” Weave in ends.
If the Clover Shaped Cloth pattern inspires you to make your own project, and you post a photo on social media, be sure to tag me @mooglyblog or #mooglyblog so I can check it out too!
THE FINE PRINT