Tartan Plaid Crochet Pumpkin Pattern
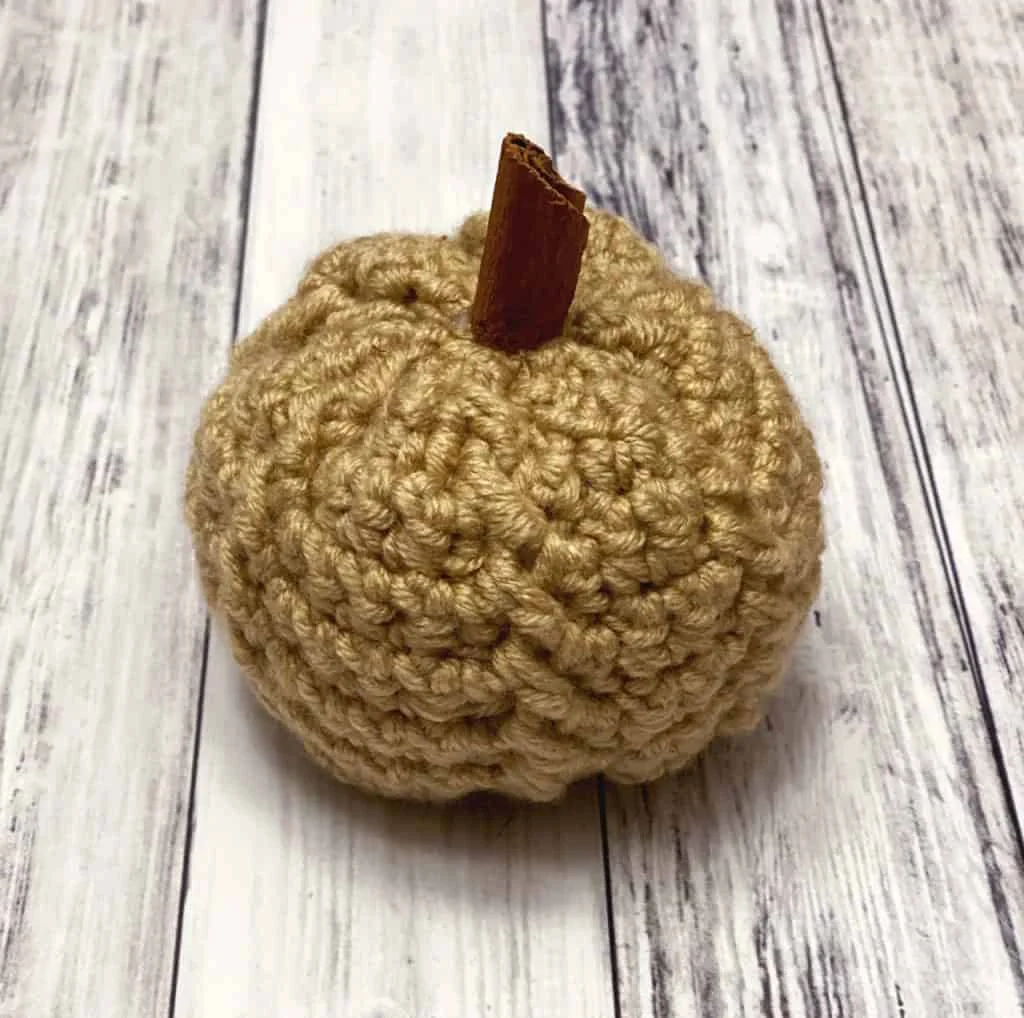
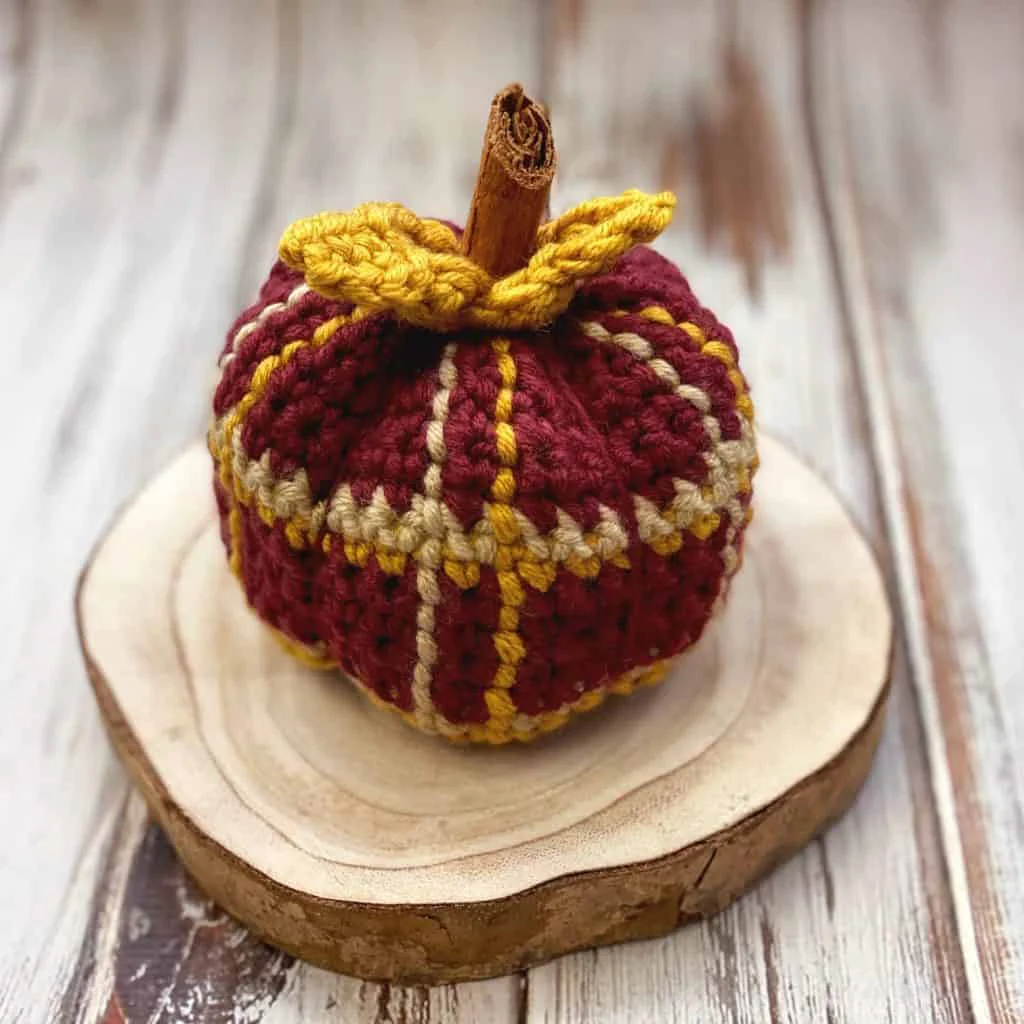
Get ready to fully embrace the cozy vibes of autumn with this incredibly adorable Crochet Pumpkin Pattern! Nothing says fall quite like decorating your home with sweet little pumpkins, and this fantastic pattern allows you to whip up your own rustic, handmade patch in no time at all. Made from a simple crocheted rectangle that is gathered and stuffed, it is remarkably beginner-friendly and so much fun to customize with different yarn textures and real cinnamon stick stems. Grab some soft, squishy yarn in your favorite harvest hues, and let’s craft the perfect seasonal centerpiece!
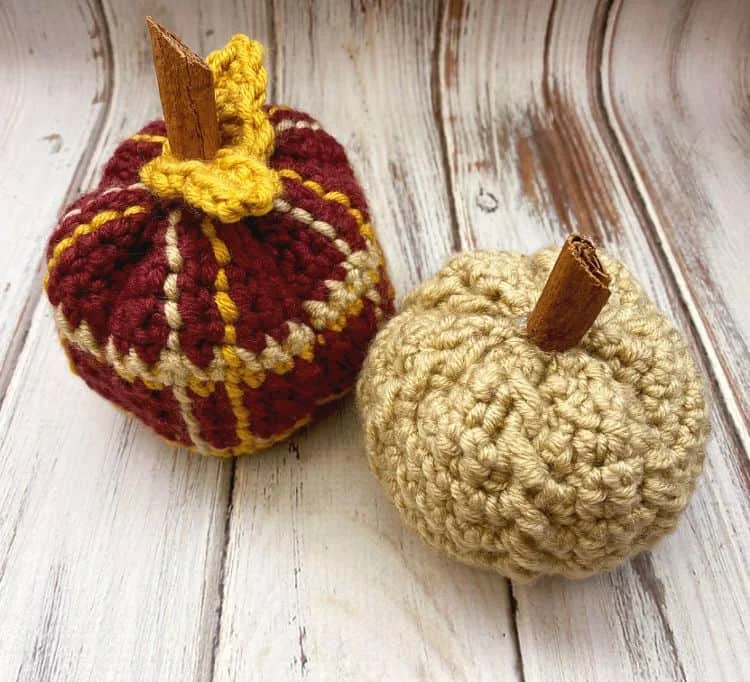
Gauge: 14 sts and 18 rows = 4″ in single crochet
Finished Size: Approximately 6″ tall including stem
STRIPE PATTERN
5 rows MC
1 row CC1
1 row CC2
Repeat
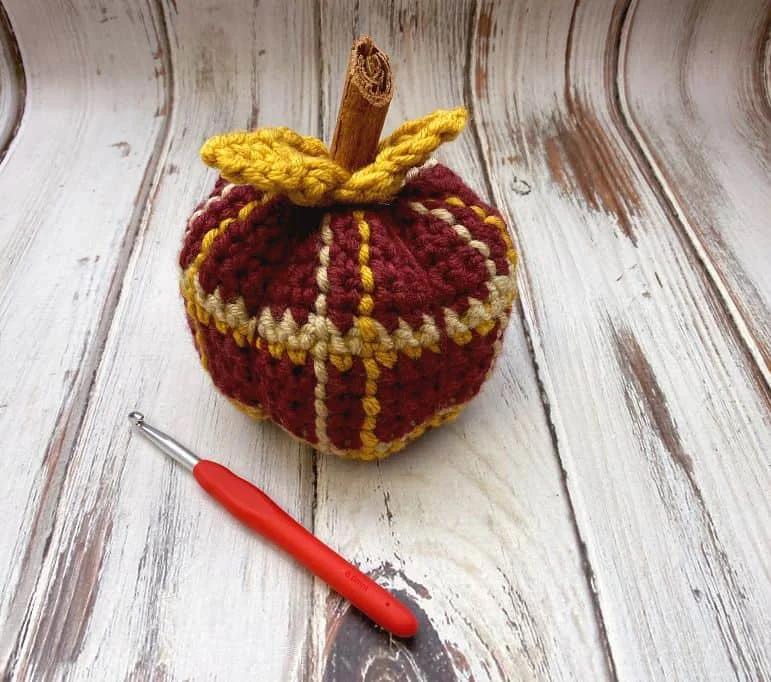
Tartan Plaid Crochet Pumpkin Pattern
With MC, ch 42. Leave a long tail for finishing.
Row 1: Sc in 2nd ch from hook and next 2 ch, *ch 1, skip next ch, sc in next ch, ch 1, skip next ch, sc in next 5 ch; repeat from * to last 6 ch, ch 1, skip next ch, sc in next ch, ch 1, skip next ch, sc in last 3 sts – 41 sts.
Row 2: Ch 1, sc in first 3 sc, *ch 1, skip ch-1 space, sc in sc, ch 1, skip ch-1 space, sc in next 5 sts; repeat from * to last 6 sts, ch 1, skip ch-1 space, sc in sc, ch 1, skip ch-1 space, sc in last 3 sts; turn.
Rows 3-19: Repeat row 2, making sure to work stripe pattern.
Fasten off, leaving a long tail for gathering top after adding plaid pattern.
MAKING THE PLAID
Join CC1 in first ch-1 space. Use surface slip st in the ch-1 space of each row to create the vertical line.
Join CC2 in the second ch-1 space. Use surface slip st in the ch-1 space of each row to create the second vertical line.
Repeat for each ch-1 space. See video for help if needed.
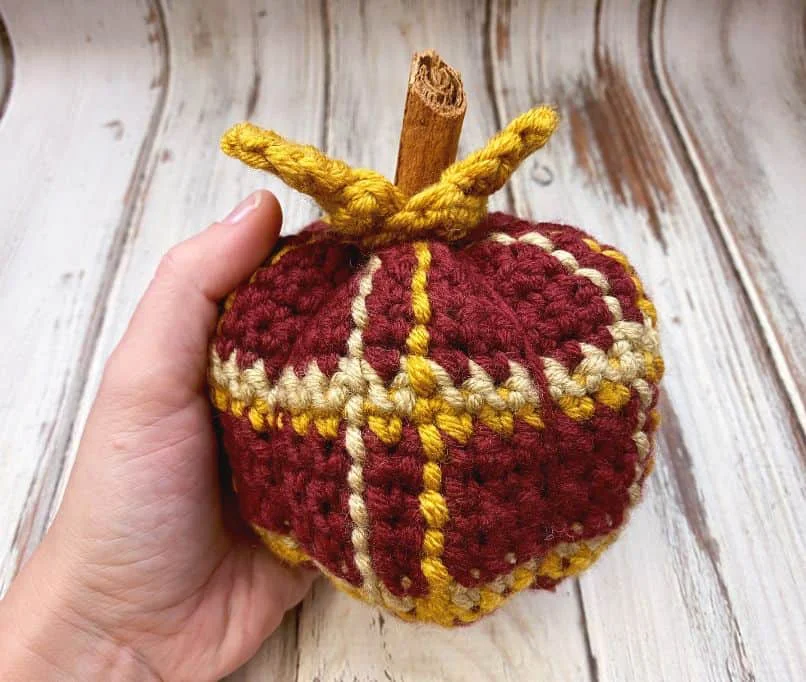
Finishing
Using tail end, thread through a yarn needle and sew short ends together, then use same tail end to weave through last row, pulling tightly to gather and sew shut.
Fill with a small amount of rice, beans or plastic pellets. If using smaller items, you might consider placing them in a piece of pantyhose or a snack size zip top bag to keep them from falling out.
Stuff the rest of the way with fiberfill.
Gather top same as bottom, hiding all ends inside pumpkin.
If you would like to have it segmented like in the pictures, use the tail (or a new piece of MC if the tail end is too short) to run MC along sides of pumpkin in between plaid lines, through bottom until there are strands of MC between each plaid area.
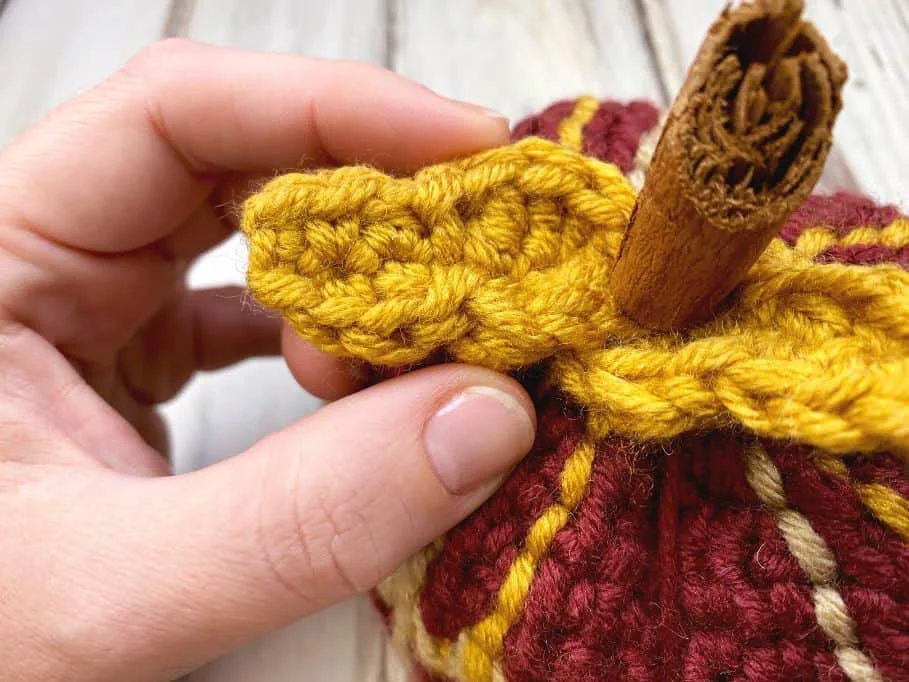
Leaf (Make 2)
Ch 7.
Round 1: Slip st in 2nd ch from hook, sc, hdc, slip st, tr, 5 dc in last ch. Working on opposite side of chain (skip base of last chain where the 5 dc are worked into), tr, slip st, hdc, sc slip st in turning ch.
Fasten off.
Finishing
Sew on top of pumpkin.
Use hot glue to attach stem.
That’s it!! Today we learned how to make the Tartan Plaid Crochet Pumpkin pattern and I hope you love it as much as I do! It was a blast to make.
Interested in the other textured pumpkin?