Ribbed Crochet Pumpkin Pattern
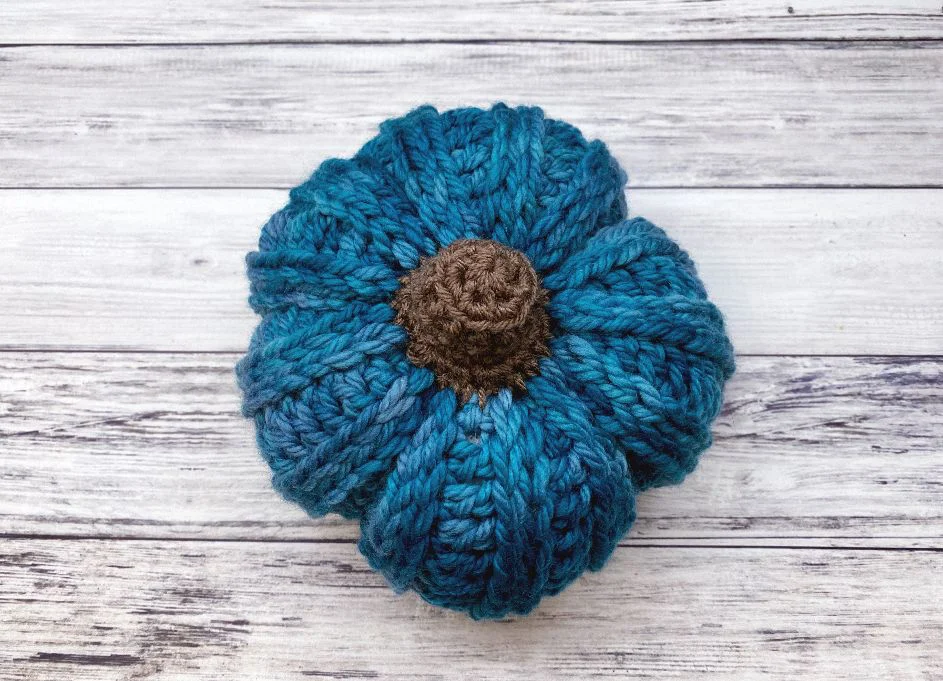
Celebrate the arrival of autumn by adding a touch of handmade charm to your home with this beautiful Ribbed Crochet Pumpkin pattern! If you are looking for the perfect, cozy weekend project, these fantastic little pumpkins are an absolute joy to make. The beautiful ribbed texture gives them an incredibly realistic, rustic look that pairs perfectly with farmhouse decor or a festive Thanksgiving centerpiece. They are delightfully simple to construct—working up from a basic rectangle—meaning you can easily crochet an entire patch of them in just a few evenings. Grab some gorgeous autumnal yarn and let’s start crafting for fall!
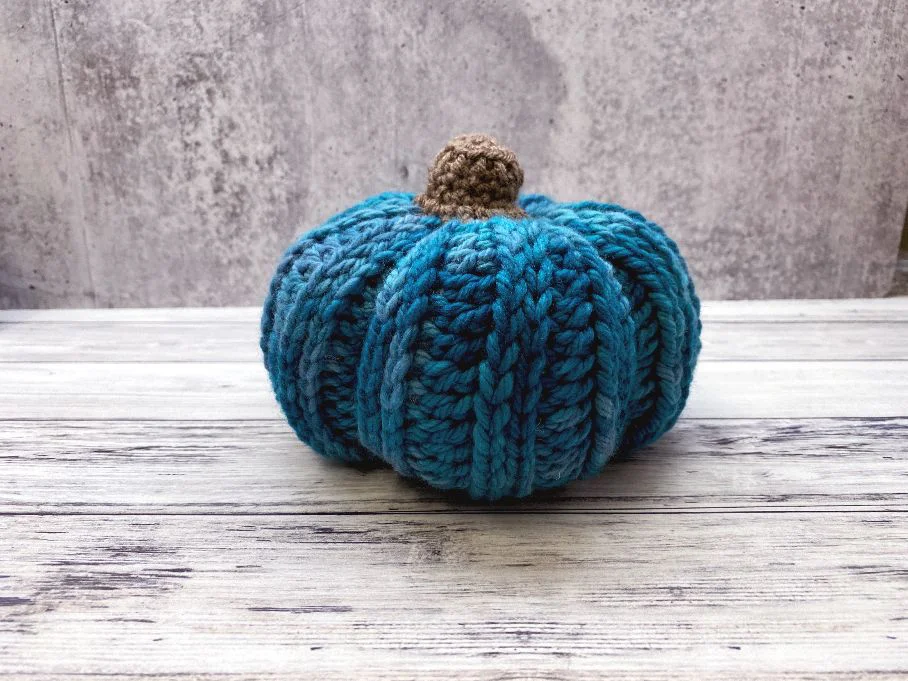
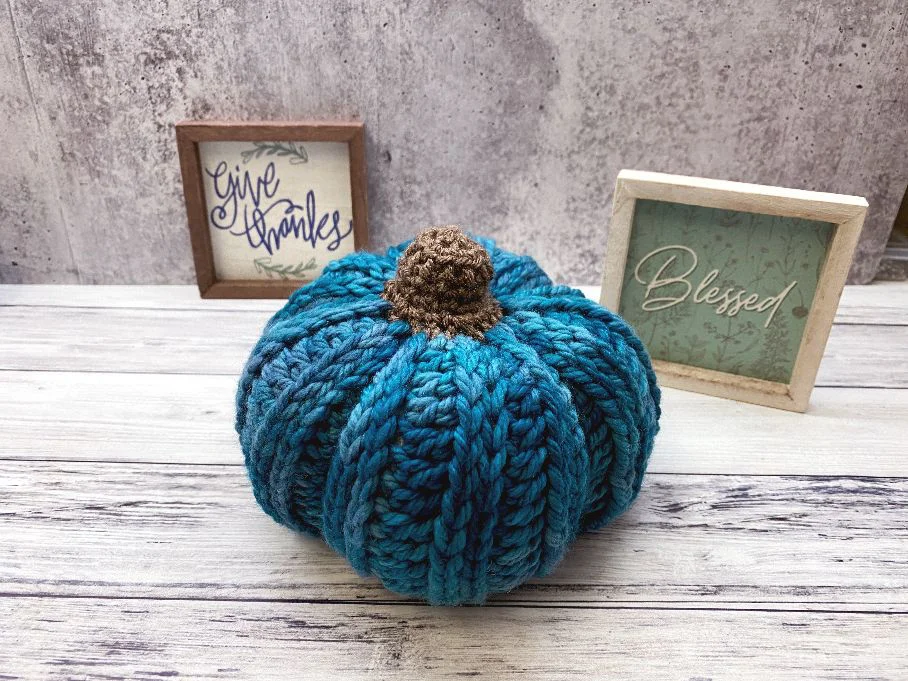
Gauge: 16 sts and 10 rows = 4” (10cm) in stitch pattern
Finished Size: Approximately 6″ circumference
Stitch Abbreviations
Chain (ch)
Slip Stitch (sl st)
Single Crochet (sc)
Double Crochet (dc)
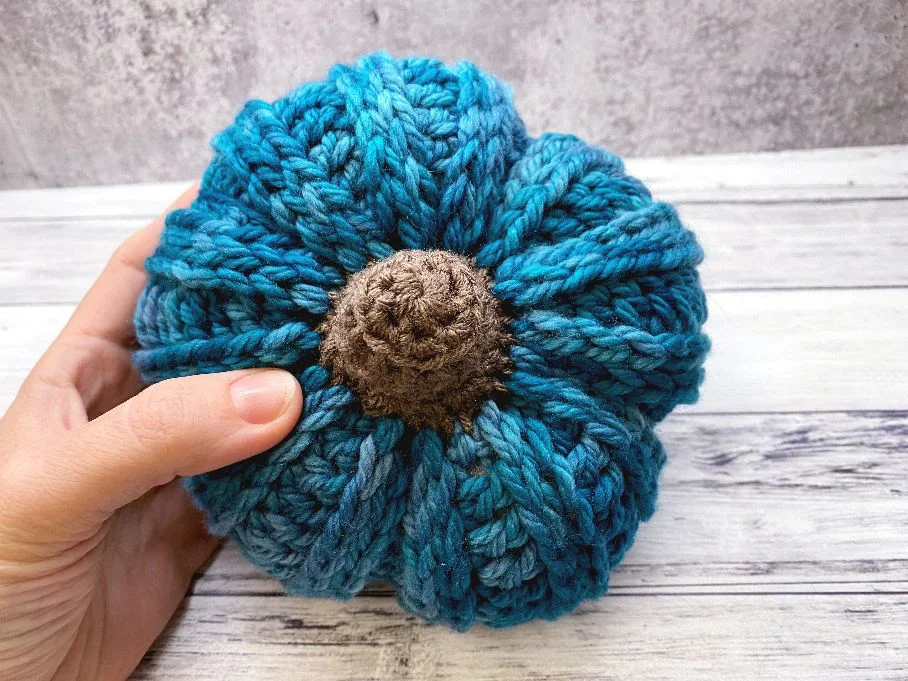
Ribbed Crochet Pumpkin Pattern
With bulky weight yarn and larger hook, ch 27.
Row 1: Dc in 4th ch from hook and each ch across; turn – 24 dc.
Row 2: Working through both loops across row, sc in first st, insert hook in same st and draw up a loop, insert hook in next st and draw up a loop, draw last loop directly through 2 loops on hook, *insert hook in same st as last completed st, yo and draw up a loop, insert hook in next st and draw up a loop, draw last loop directly through 2 loops on hook; repeat from * in each st across, work additional slip st in last st; turn.
Row 3: Ch 3, dc blo in each st across; turn (24 dc)
Rows 4-26: Repeat rows 2-3, working a row 2 last to hide the seam.
**If you are having trouble with this stitch pattern, it is the same as the ribbing from the Hygge Mittens (there is a video tutorial on this pattern to show you how to work the ribbing).
FINISHING
Using tail end, thread through a yarn needle and sew short ends together, then use same tail end to weave through one long side, pulling tightly to gather and sew shut.
Fill with a small amount of rice, beans or plastic pellets. If using smaller items, you might consider placing them in a piece of pantyhose or a snack size zip top bag to keep them from falling out.
Stuff the rest of the way with fiberfill.
Gather top same as bottom, hiding all ends inside pumpkin.
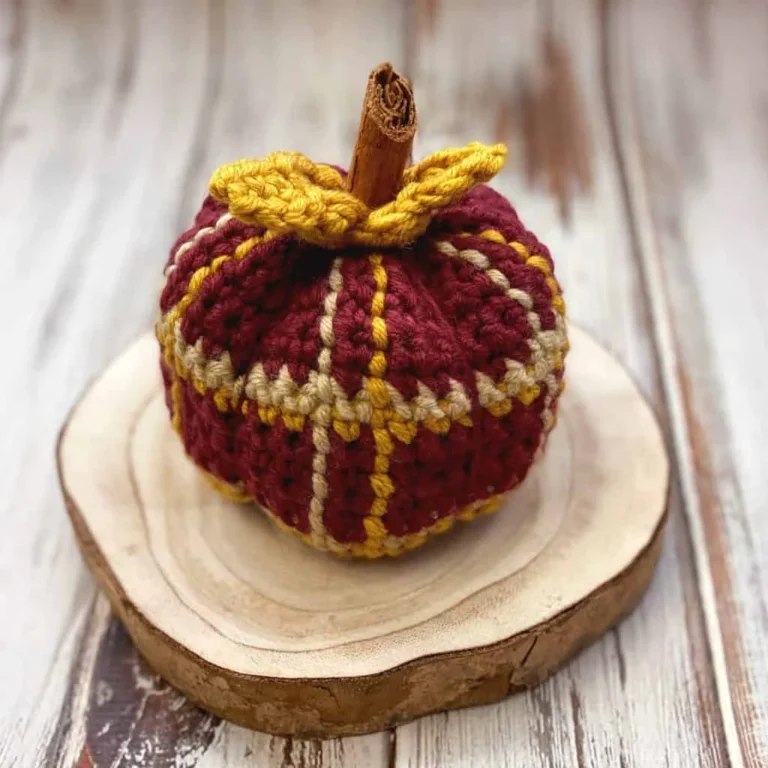
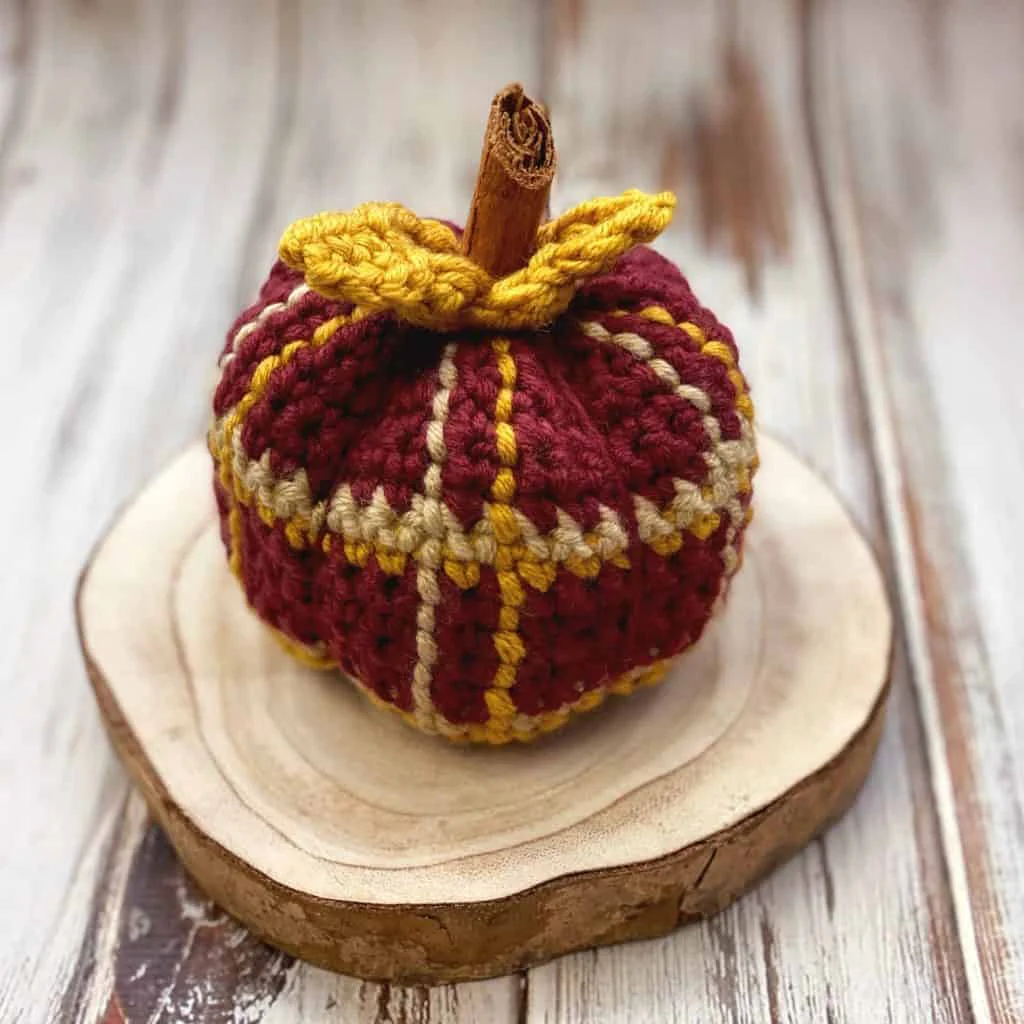
If you would like to have it segmented like in the pictures, use the tail (or a new piece of yarn if the tail end is too short) to run yarn along sides of pumpkin in between ribbing on the dc rows, through bottom until there are strands of MC between each segment.
Stem
With worsted weight yarn and smaller hook, make magic ring.
Round 1: 6 sc into magic ring – 6 sts.
Round 2: 2 sc in each st – 12 sts.
Round 3: Sc into back loop only of each st – 12 sts.
Rounds 4-5: Sc in each st around – 12 sts.
Round 6: *Sc, 2 sc in next; repeat from * around – 18 sts.
Stuff lightly and stitch to top of pumpkin as seen in photos.