Easy Daisy Crochet Pattern
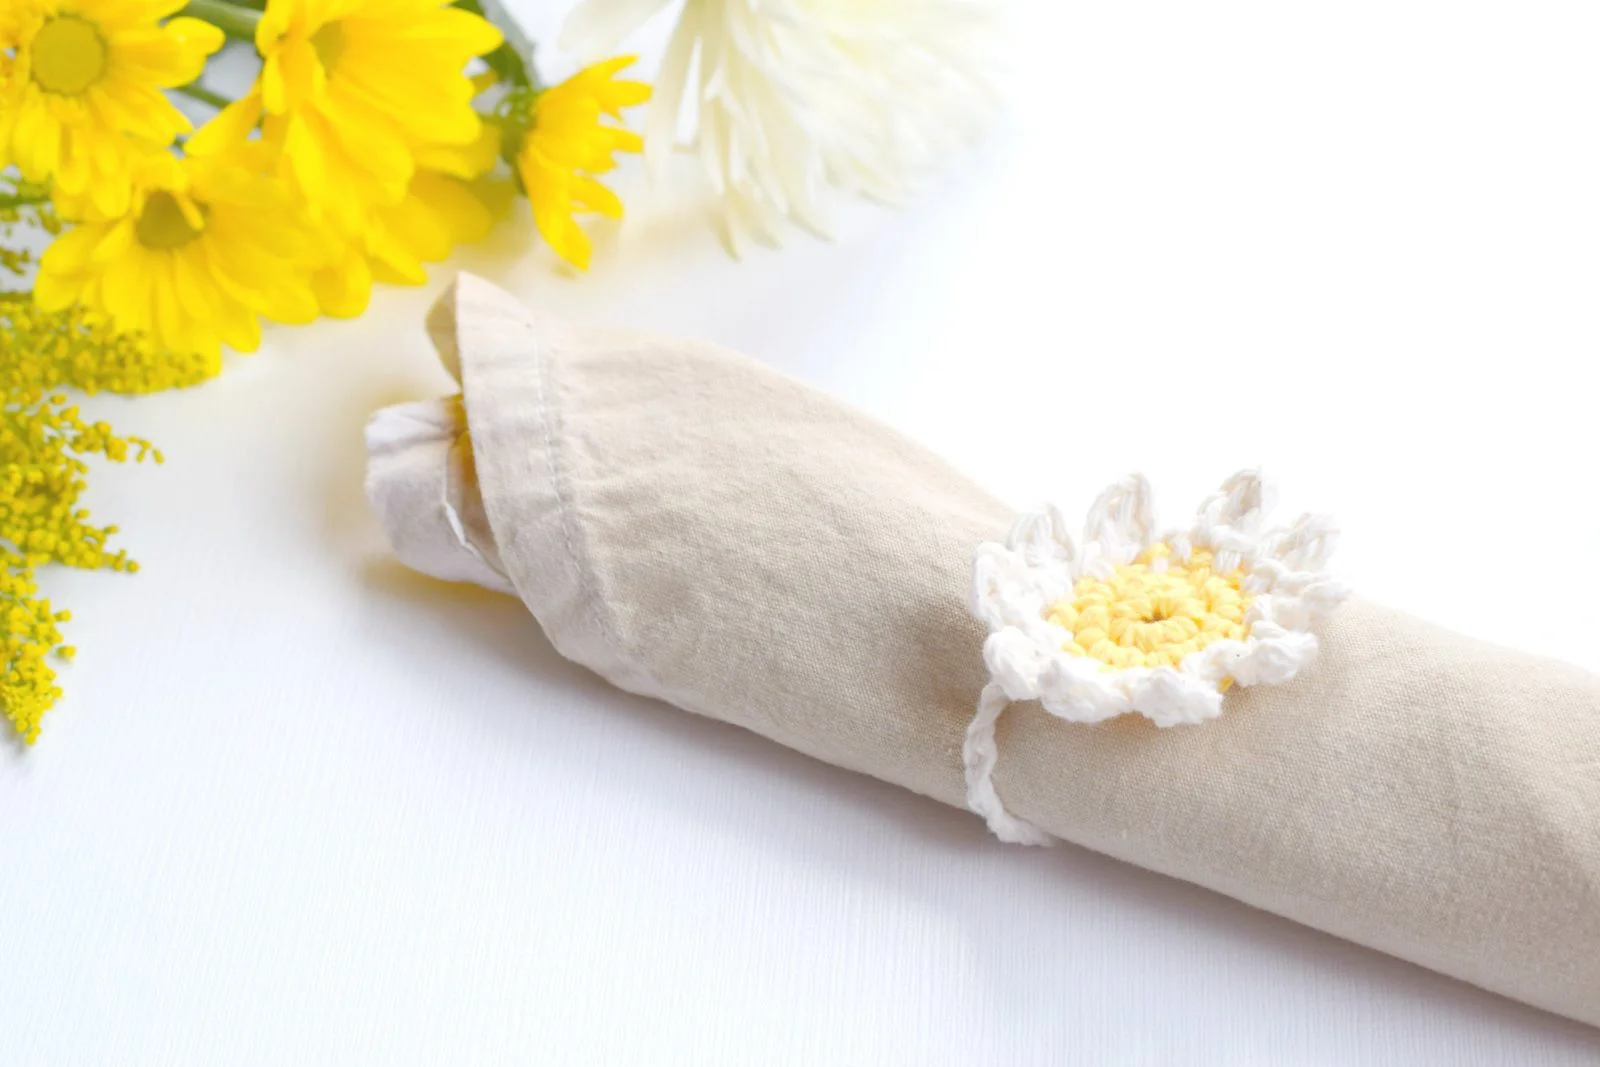
There is absolutely nothing like a classic, cheerful daisy to brighten up your day, and this Easy Daisy Crochet Pattern is the perfect way to craft your own little ray of sunshine! Bursting with joyful, summery vibes, these charming flowers are incredibly simple to make and work up remarkably fast. Whether you want to sew them onto a cozy cardigan, string a bunch together to create a lovely springtime garland, or just add a playful touch to a basic tote bag, these sweet blooms are incredibly versatile. Grab some worsted weight yarn in sunny yellow and crisp white, and let’s crochet a whole garden of easy daisies!
Supplies:
Small amounts of white and yellow worsted weight yarn – I used up scrap cotton yarn from my stash! You could totally use the lovely Lion Brand 24/7 cotton HERE
Size H 5.0 mm Crochet Hook
Scissors
Tapestry Needle to weave in ends
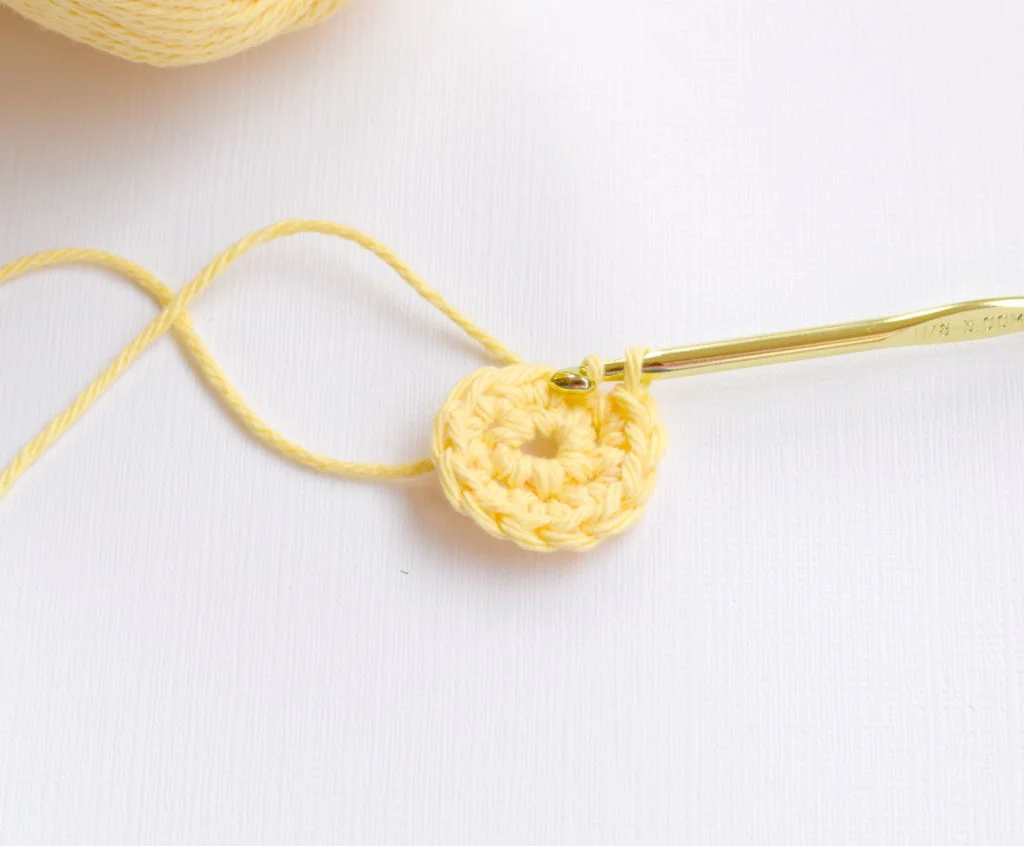
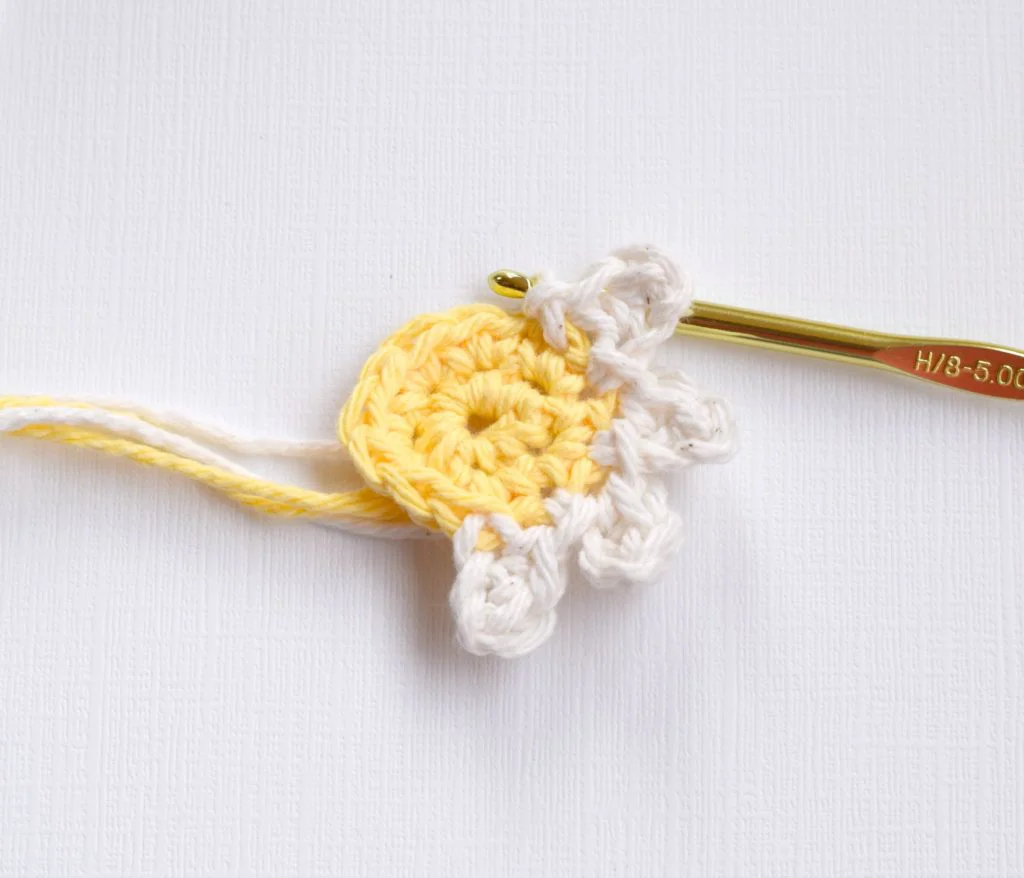
Here’s what it looks like as it’s being made, and see below for the written pattern!
How To Crochet A Daisy
Step 1: Crochet stitches into the ring
Step 2: Ready to make petals! Pick up your white yarn and make a chain. 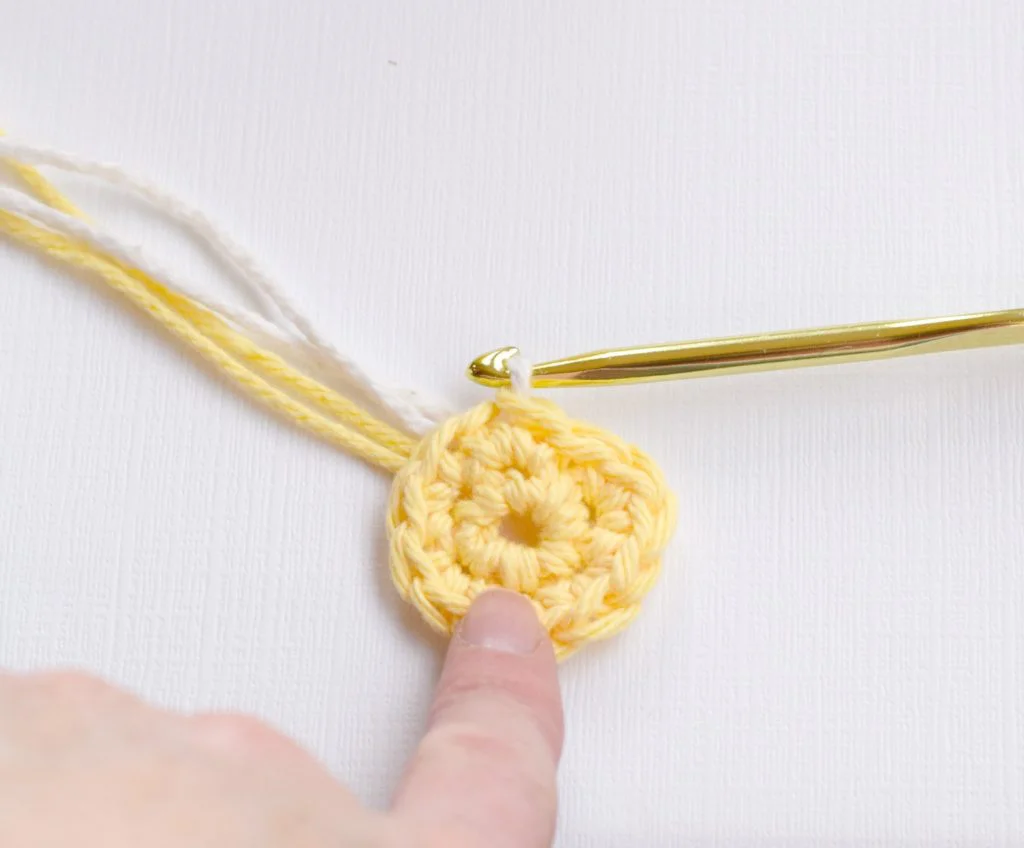
Step 3: Chain to begin the petals.
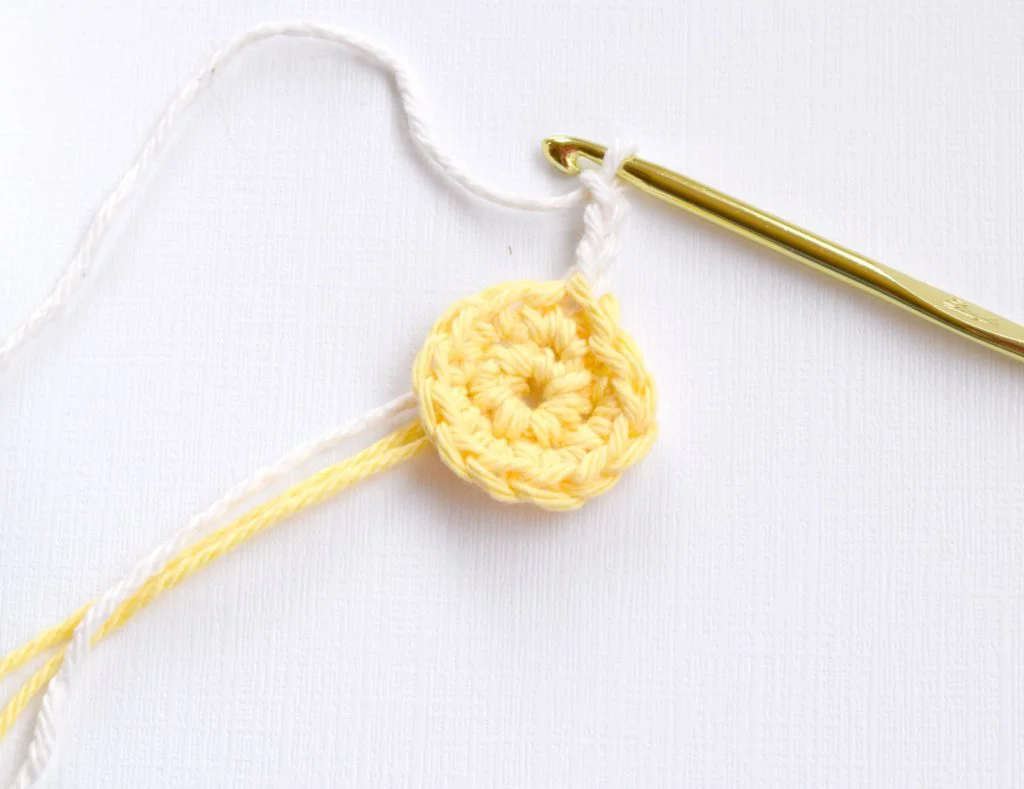
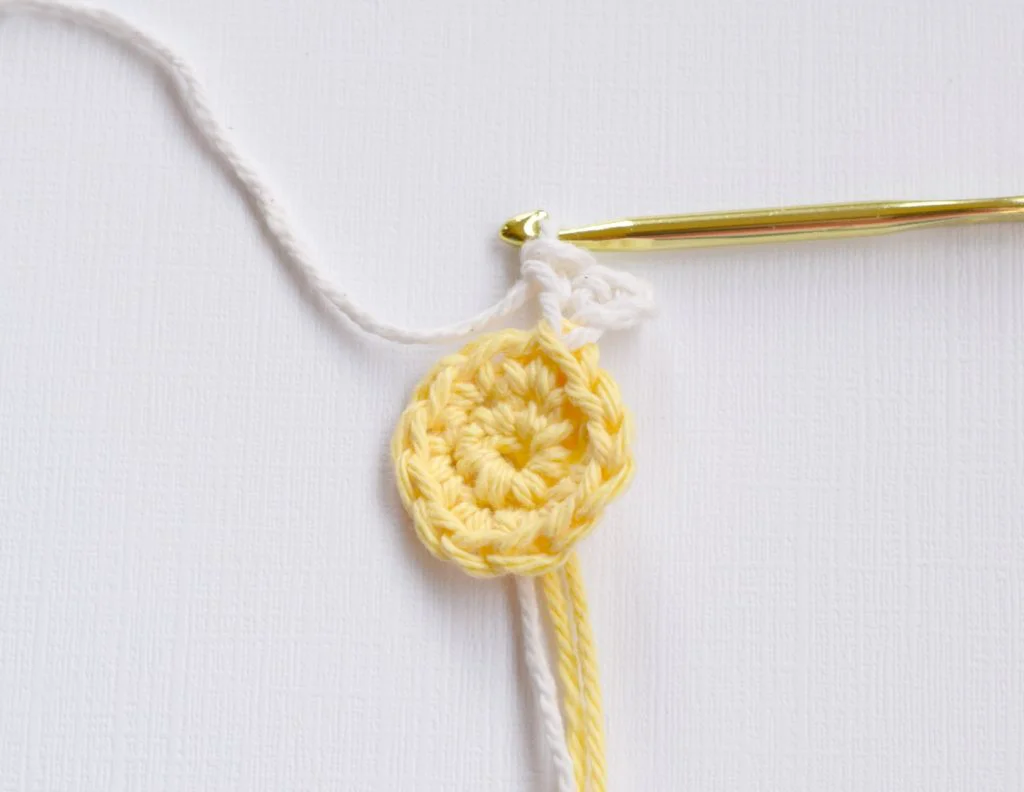
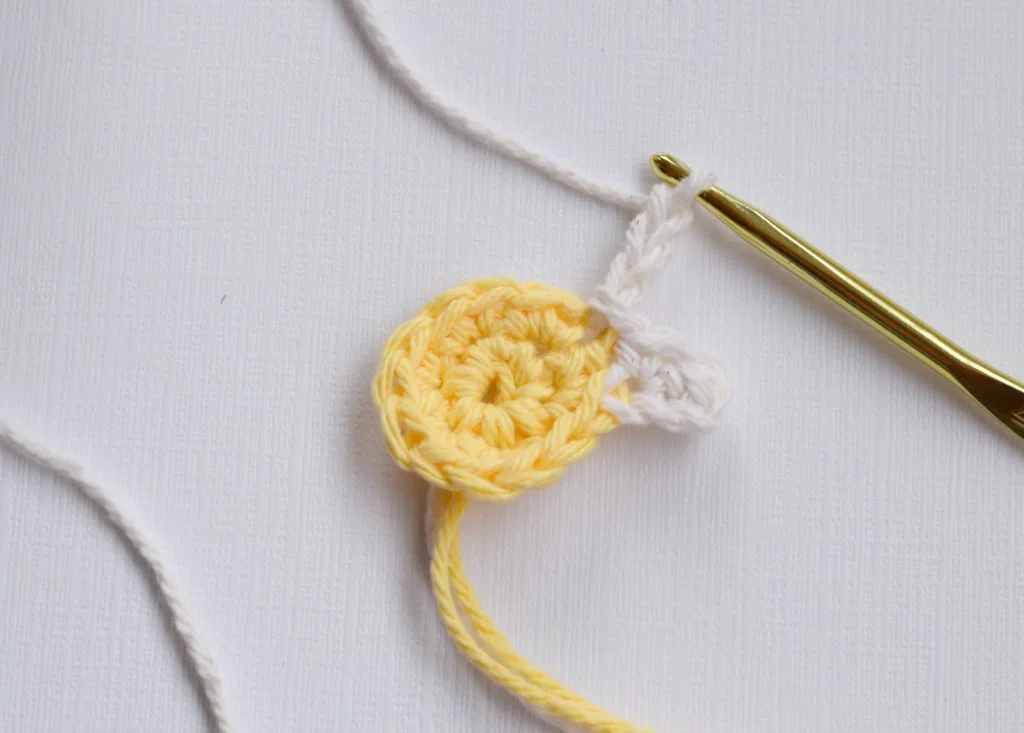
And now you have your beautiful, crocheted daisies!
Scroll to see the pattern written out and the specifics. 🙂
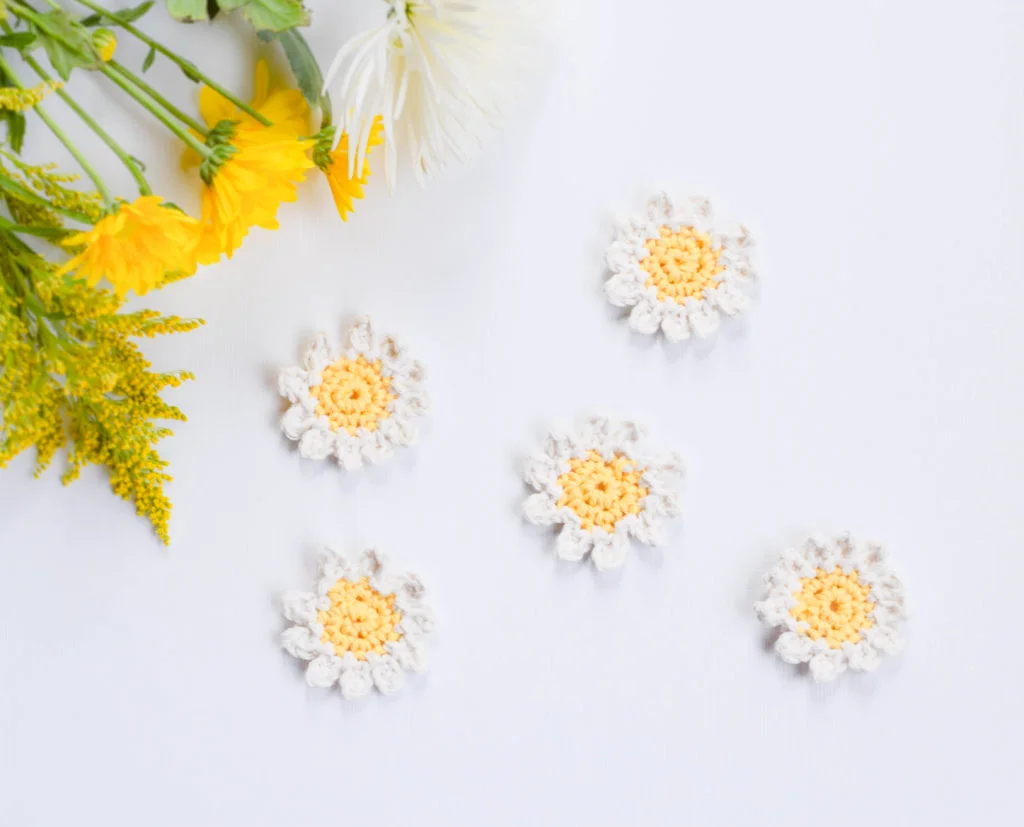
Daisy Crochet Pattern
With your yellow, chain 2
Round 1 – In second chain from hook, sc 6 times (do not join rounds, simply crochet in continuous rounds)
Round 2 – 2 sc in each stitch around (total of 12 stitches around), slip stitch into next stitch
Round 3 – Insert hook into next stitch, pull up white, pull the white through loop on your hook, tighten *chain 3, sc across chain (2 stitches total), then slip stitch into next yellow stitch* (See picture tutorial above to see how it looks)
Repeat from * to * around until reach end. Tie off, weave in ends.
For Flower Napkin Ring Pattern
With your hook and white yarn, chain 16 (you can make it longer for a larger ring if you’d like)
Slip stitch to join in the round, and tie off
With your two tails, using your tapestry needle, attach the ring to the flower (attach to the white portion near the center)
Weave in ends
I like the dainty look of a simple chain as the napkin ring. Originally I thought I’d do a thicker one, but really just loved the chain.
That’s all there is to it!