Knit Look Crochet Easter Egg (Free Pattern)
Get your home beautifully ready for spring with this fun and festive Crochet Easter Egg pattern! Ditch the messy dyes and plastic shells this year for these wonderful, soft, and completely reusable handmade eggs. They are absolutely perfect for decorating a seasonal centerpiece, tucking into a little one’s Easter basket, or hiding around the house for an indoor hunt. Plus, this is an incredible stash-busting project that lets you play with all those bright, joyful pastel yarns you have lying around. Grab your hook, some colorful yarn, and let’s crochet some springtime cheer!
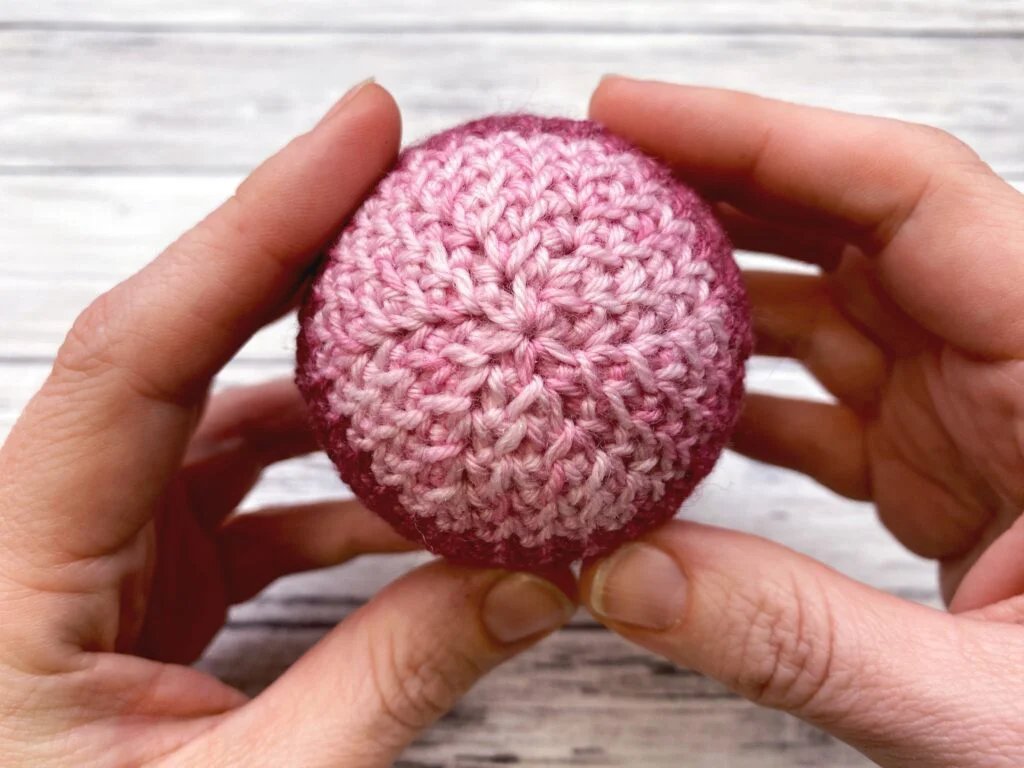
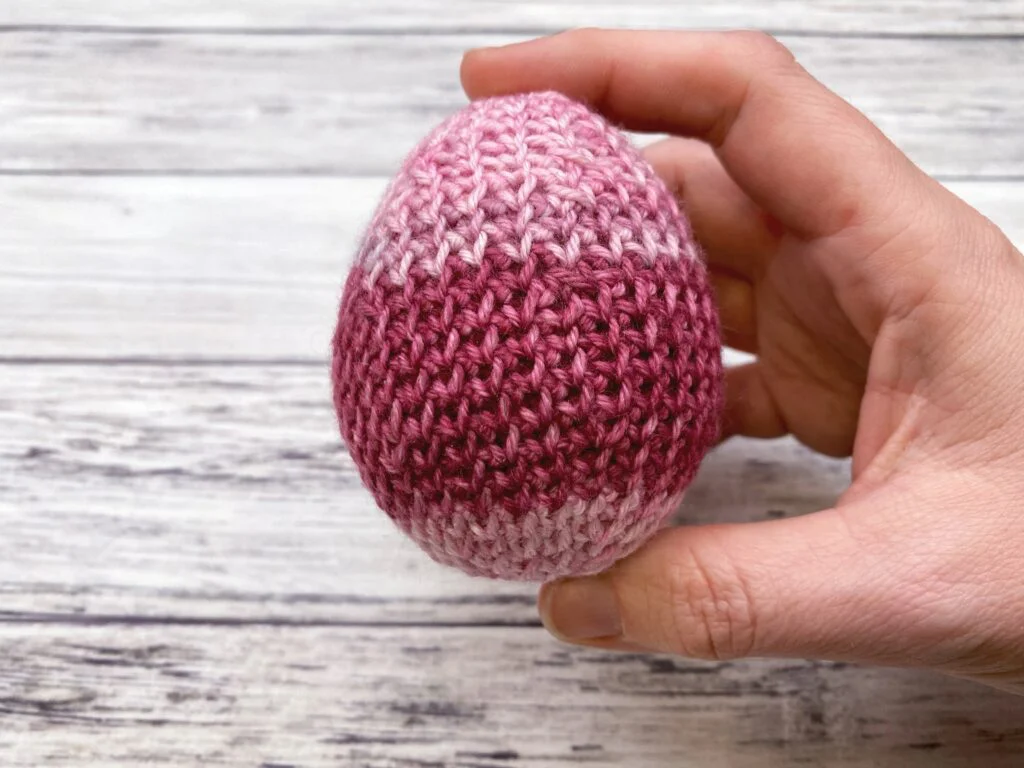
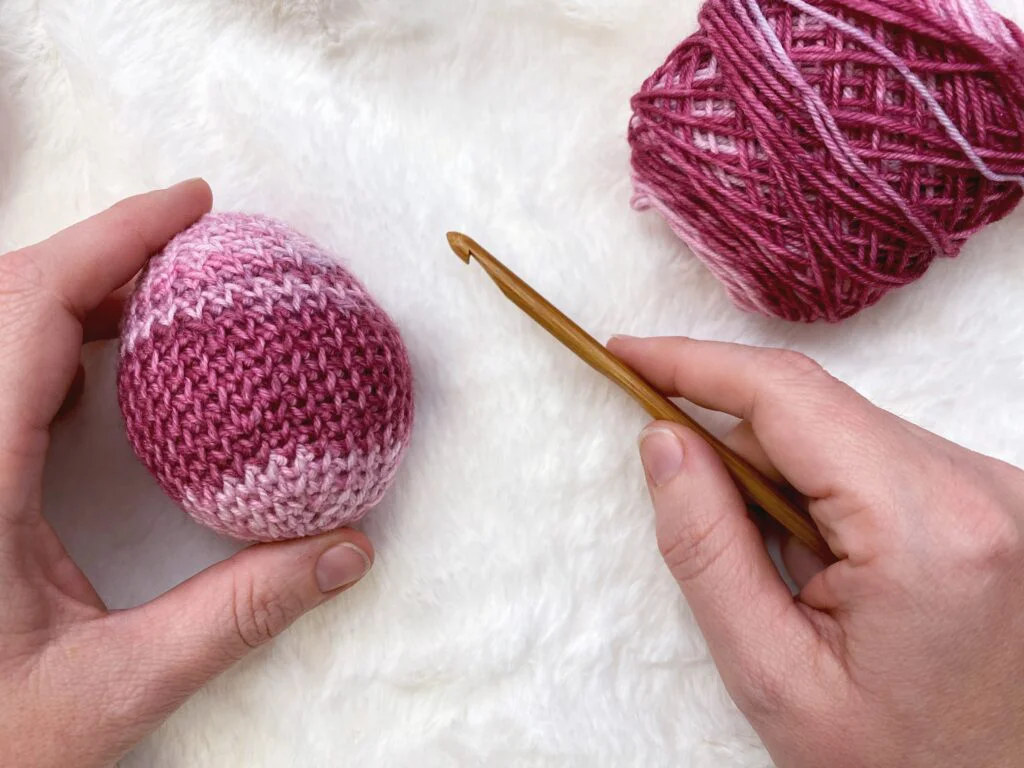
Finished Size: Fits 2.3×2.7” styrofoam egg
Gauge: 20 sts and 23 sts = 4″ in the waistcoat stitch
Stitch Descriptions and Abbreviations:
Chain (ch)
Single Crochet (sc)
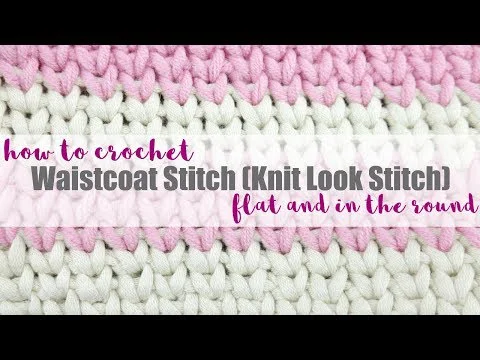
Waistcoat Stitch (wc) – insert hook into the post of the next stitch (it looks like a “V” shape), complete as a regular single crochet
Waistcoat Stitch 2 Together (wc2tog) – (insert hook into the post of next stitch and draw up a loop) twice, yarn over, draw through three loops on hook (one stitch decreased)
Notes
Pattern is worked in continuous rounds. Use a stitch marker to keep track of first stitch of each round.
The first couple of rounds look loose, but that is normal. After round 3 you should see the stitches even out. Make sure you pull your yarn tail tightly after the magic circle.
You can find polystyrene eggs at craft stores (I found mine at JoAnn) or on Amazon.
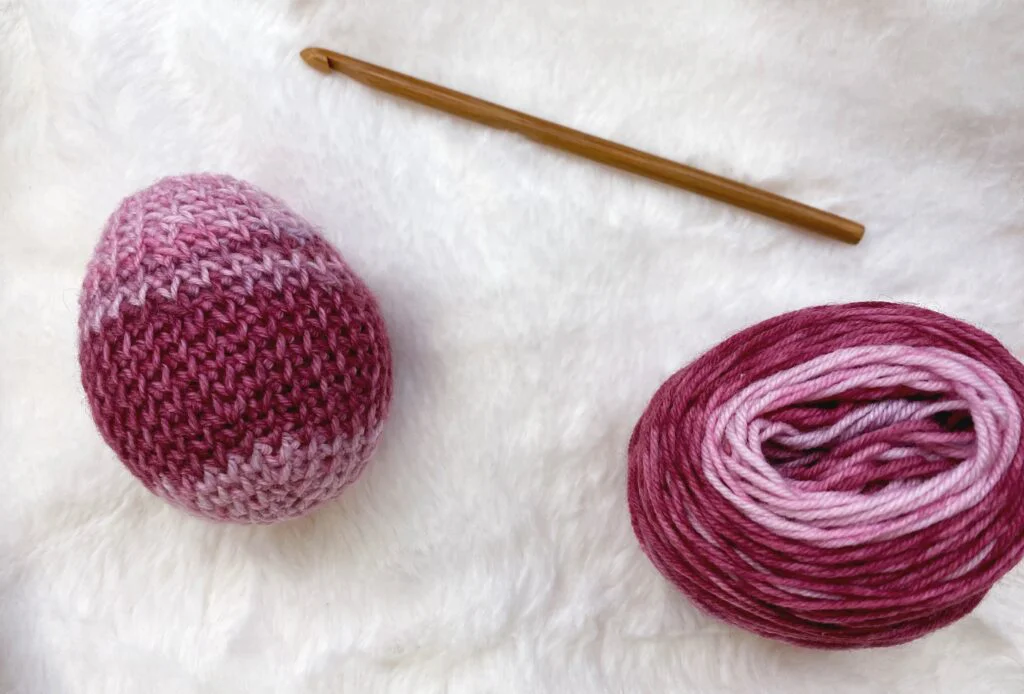
Crochet Easter Egg Pattern
Make magic ring.
Rnd 1: 6 sc in magic ring (6 sts).
Rnd 2: 2 wc in each sc (12 sts).
Rnd 3: (Wc, 2 wc in next wc) 6 times (18 sts).
Rnd 4: (Wc 2, 2 wc in next wc) 6 times (24 sts).
Rnd 5: (Wc 3, 2 wc in next wc) 6 times (30 sts).
Rnd 6: (Wc 4, 2 wc in next wc) 6 times (36 sts).
Rnds 7-13: Wc in each wc.
Rnd 14: (Wc 4, wc2tog) 6 times (30 sts).
Rnds 15-16: Wc in each wc.
Place styrofoam egg inside and continue to crochet around it.
Rnd 17: (Wc 3, wc2tog) 6 times (24 sts).
Rnd 18: Wc in each wc.
Rnd 19: (Wc 2, wc2tog) 6 times (18 sts).
Rnds 20-22: Wc in each wc.
Rnd 23: (Wc, wc2tog) 6 times (12 sts).
Rnd 24: (Wc2tog) 6 times (6 sts).
Finishing
Cut yarn, leaving a long tail.
Weave tail through remaining 6 sts and pull tightly to close.
Weave in remaining end.
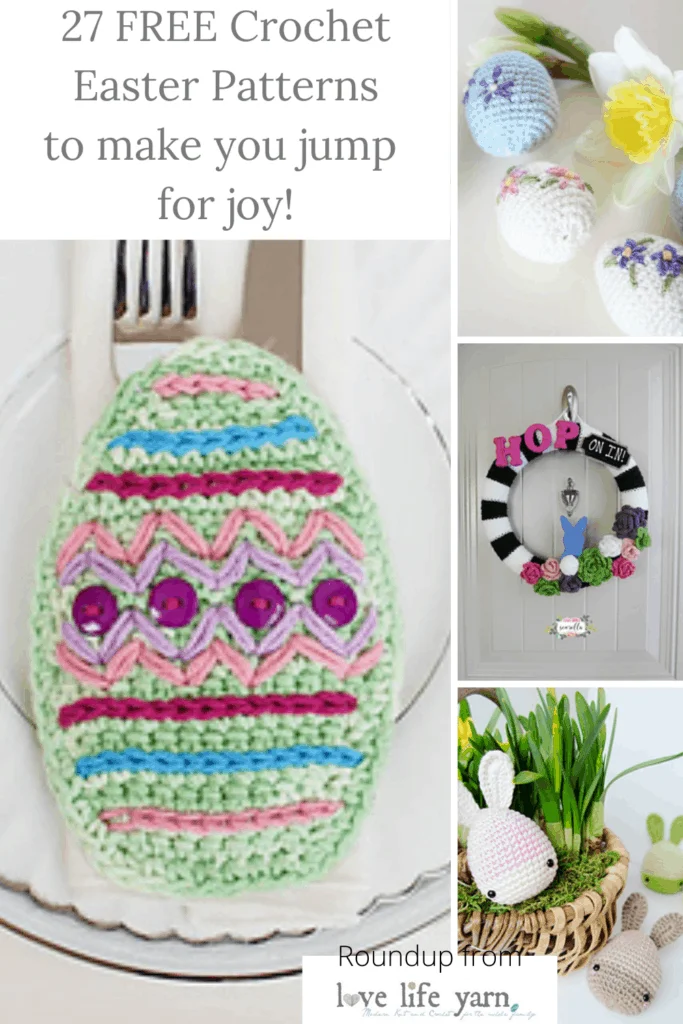
Want More Easter Crochet Patterns? Check These Out:
Final Thoughts on Our Crochet Easter Egg Pattern
I hope you’ve enjoyed this free crochet pattern and will make some of these for an Easter basket near you!
This pattern is a great way to use up scrap yarn and can be filled with fiberfill, the foam egg like I used or even a plastic egg.
Crochet Easter eggs are a wonderful addition to your Easter decor and they are so much fun to make. By following the instructions above you can create your own unique eggs in no time.
Change up the basic pattern to your liking and create one-of-a-kind Easter eggs to brighten up your home or as special gifts.
So, what are we waiting for? Let’s get our supplies and get started with our Easter celebrations!